Simple and Beautiful DIY Art Projects: A Step-by-Step Guide
At DbS Creative Studio, our mission is to inspire creativity and bring beauty into your living spaces with authentic artwork. We believe that everyone has the potential to create something beautiful, and there's no better way to express your creativity than through DIY art projects. These projects not only add a personal touch to your home decor but also provide a rewarding and relaxing experience. Here are some step-by-step guides for simple and beautiful DIY art projects that resonate with the values and mission of DbS Creative Studio.
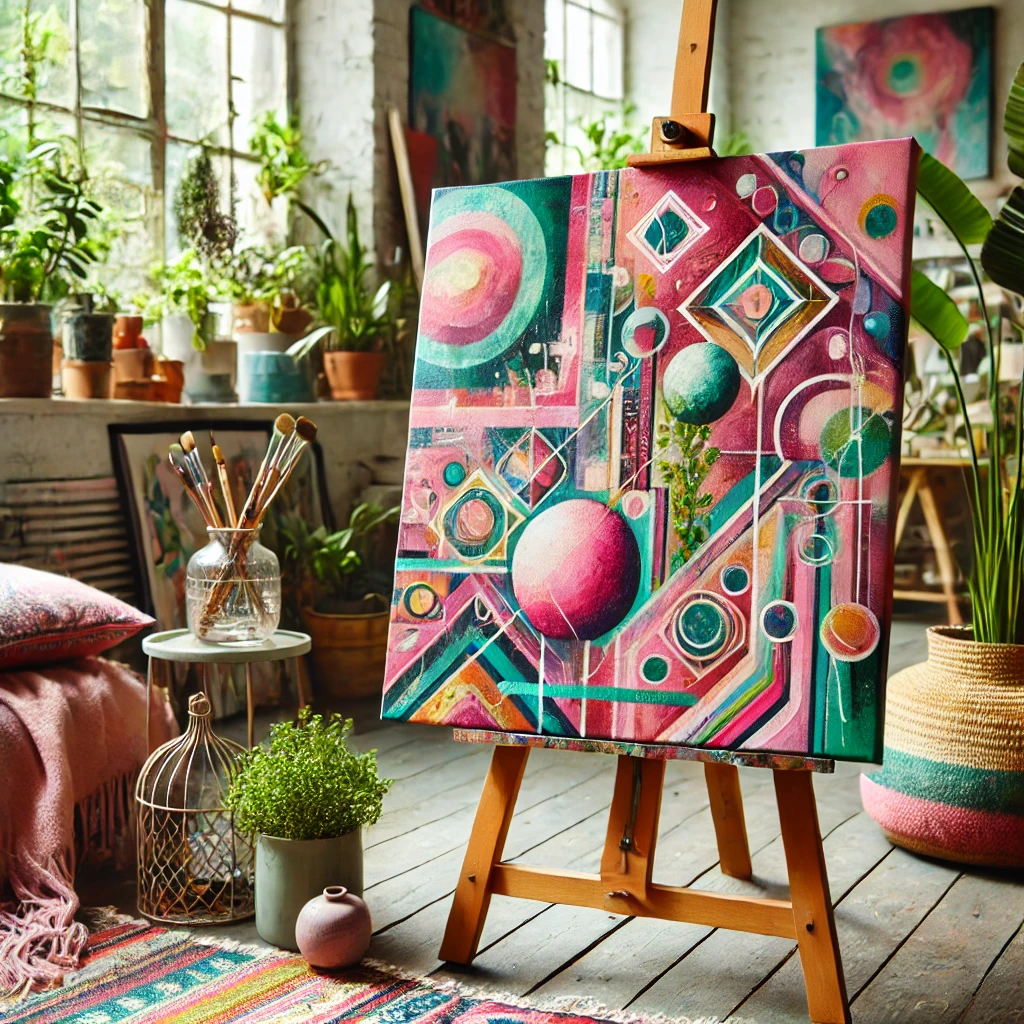
1. Abstract Canvas Art
Abstract art is perfect for those who want to explore their creativity without constraints.

Materials Needed:
Canvas
Acrylic paints
Paintbrushes
Palette knife (optional)
Painter's tape
Creation Steps:
Prepare Your Canvas: Start by setting up your workspace. Lay down some old newspapers or a plastic sheet to protect your surface. Place your canvas on the workspace.
Plan Your Design: Think about the design you want to create. Abstract art is all about expressing emotions and using colors creatively, so there are no rules. You can use painter's tape to create geometric shapes or sections on your canvas.
Paint the Background: Choose a base color and paint the entire canvas. Let it dry completely before moving on to the next step.
Add Layers and Textures: Using your chosen colors, start adding layers to your canvas. You can use a palette knife to create textures or a paintbrush for more controlled strokes. Experiment with blending colors and creating patterns.
Finalize Your Artwork: Once you're satisfied with your design, let the paint dry completely. Remove the painter's tape if you used it. Your abstract canvas art is now ready to be displayed!
Why it Resonates:
Abstract art is perfect for those who want to explore their creativity without constraints. It’s a reflection of individuality and personal expression, which aligns with the values of DbS Creative Studio.
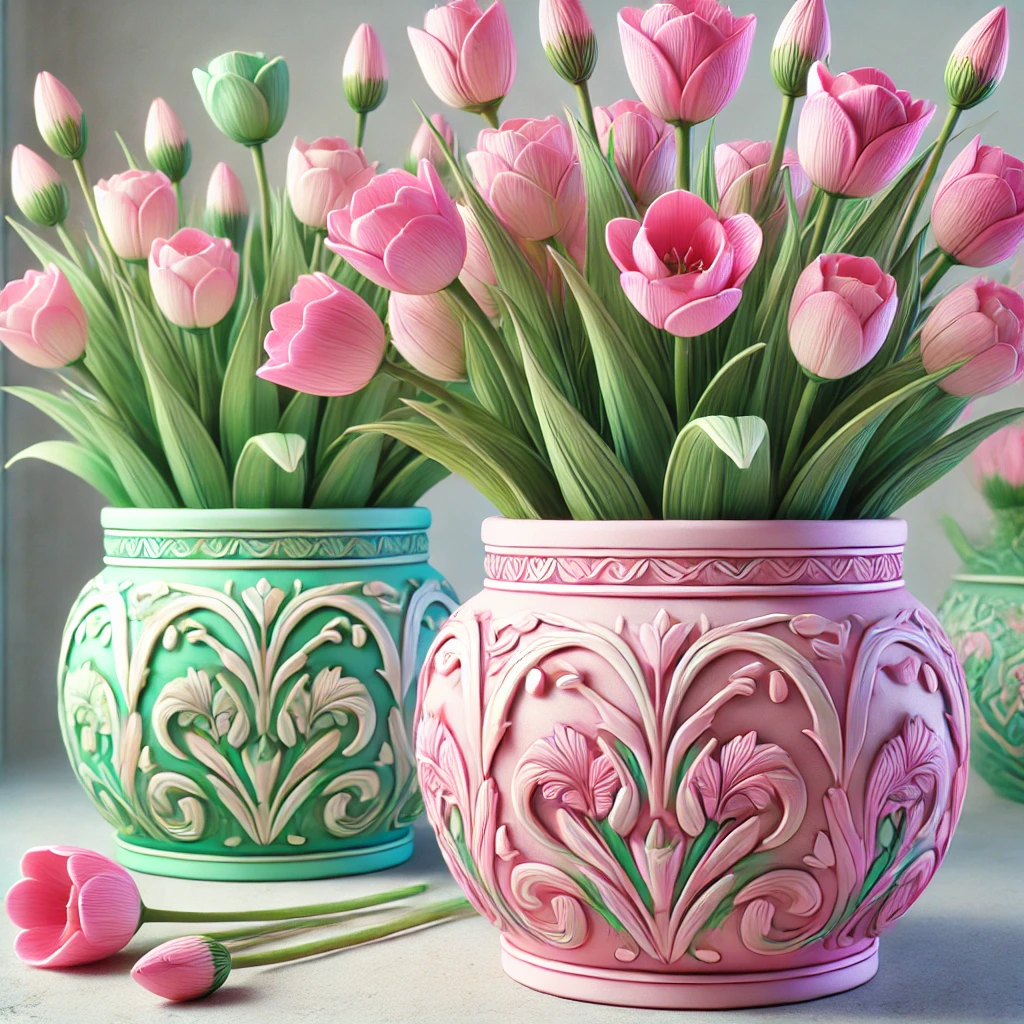
2. Hand-Painted Flower Pots
This project encourages creativity, adds a special touch to your decor, and lets you experience the joy of creating something beautiful with your own hands

Materials Needed:
Terracotta pots
Acrylic paints
Paintbrushes
Sealant spray (optional)
Creation Steps:
Clean the Pots: Ensure your terracotta pots are clean and dry before starting. This will help the paint adhere better.
Base Coat: Apply a base coat of white acrylic paint to the pots. This will make your colors pop. Let it dry completely.
Design Your Pattern: Decide on a design or pattern for your pots. You can go for floral patterns, geometric shapes, or even abstract designs.
Paint Your Design: Using different brushes, paint your design onto the pots. Take your time and let each layer dry before adding more details.
Seal Your Pots: Once the paint is dry, you can spray a sealant over the pots to protect your artwork from water and wear.
Why it Resonates:
Hand Painted Pots perfectly reflect our mission by turning everyday items into unique, personalized art. This project encourages creativity, adds a special touch to your decor, and lets you experience the joy of creating something beautiful with your own hands.
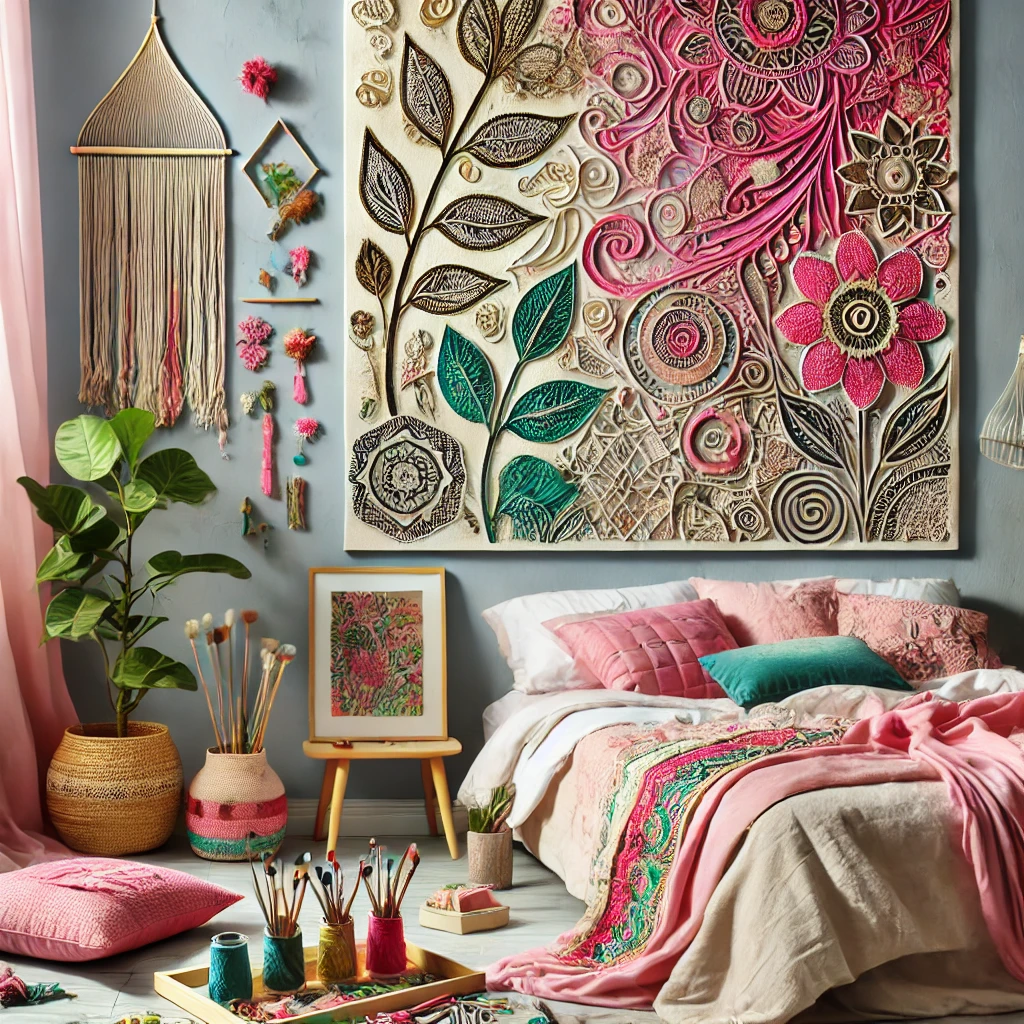
3. DIY Wall Hanging
DIY wall hangings are simple to create and can be customized to fit any style, theme, mood or color scheme.

Materials Needed:
Wooden dowel or branch
Yarn or string (in various colors)
Scissors
Beads (optional)
Creation Steps:
Choose Your Colors: Select yarn in colors that match your decor or personal preference. You can choose a single color or a combination of colors.
Cut the Yarn: Cut pieces of yarn to your desired length. Remember, the yarn will be folded in half, so cut pieces that are double the length you want your wall hanging to be.
Attach the Yarn: Fold each piece of yarn in half, loop it around the dowel or branch, and pull the ends through the loop to secure it. Repeat this process, arranging the yarn pieces next to each other.
Add Beads (Optional): If you want to add beads to your wall hanging, thread them onto some of the yarn pieces before attaching them to the dowel.
Trim and Finish: Once all your yarn pieces are attached, trim the ends to create a straight edge or a pattern (like a V-shape). Hang your wall hanging on the wall using nails or hooks.
Why it Resonates:
DIY wall hangings are simple to create and can be customized to fit any style or color scheme. They add a handmade touch to your decor, embodying the personalized and creative spirit of DbS Creative Studio.
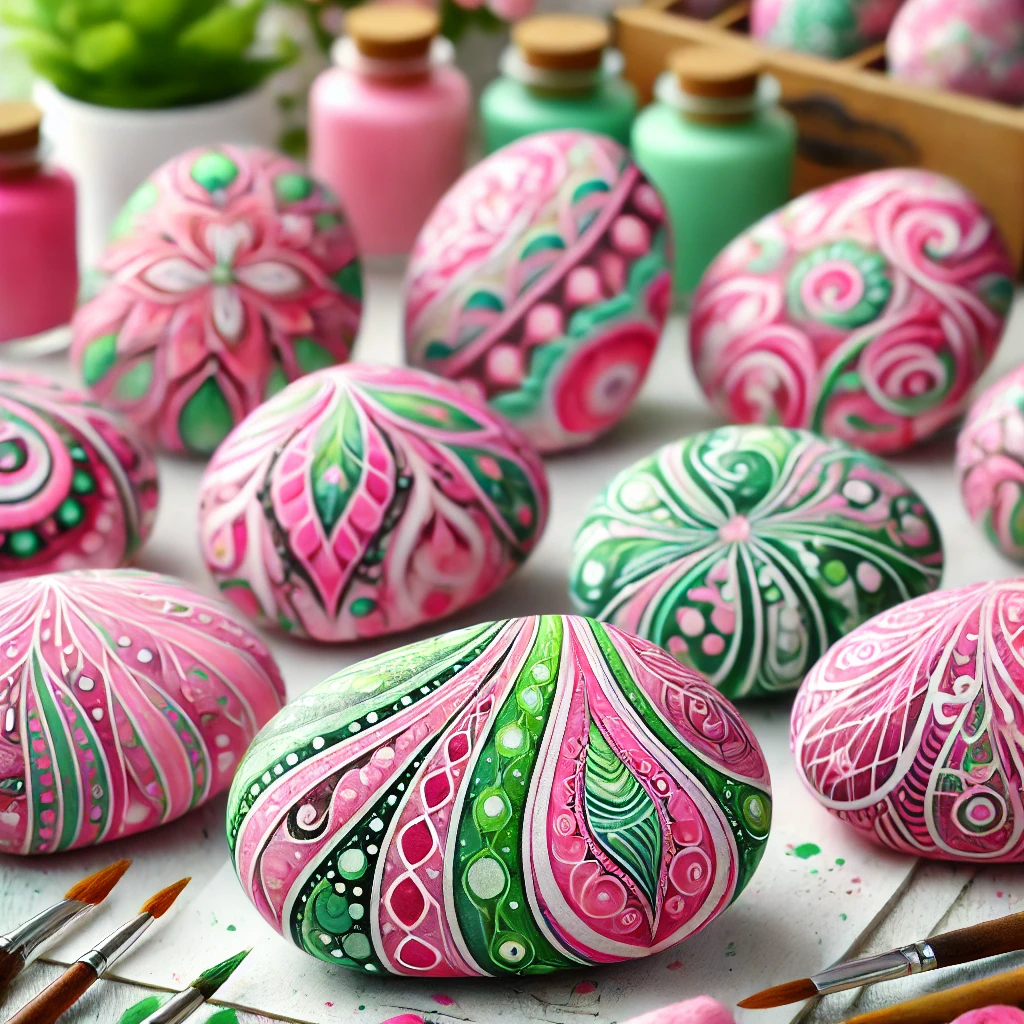
4. Painted Rock Paperweights
Painted rock paperweights are a fun and easy personalized project that can be done with minimal materials or supplies.

Materials Needed:
Smooth, flat rocks
Acrylic paints
Paintbrushes
Sealant spray
Creation Steps:
Clean the Rocks: Wash the rocks and let them dry completely before painting.
Base Coat: Apply a base coat of paint to the rocks. White or black works well as a starting point. Let it dry.
Design Your Rocks: Think of simple designs like dots, stripes, or floral patterns. You can also paint words or phrases.
Paint Your Design: Use fine brushes to add details to your rocks. Let each layer of paint dry before adding more.
Seal Your Rocks: Once the paint is completely dry, spray a sealant over the rocks to protect your design.
Why it Resonates:
Painted rock paperweights are a fun and easy project that can be done with minimal materials. They make great personalized gifts and add a touch of whimsy to any desk or shelf.
Final Thoughts
Creating your own art can be incredibly fulfilling, and these DIY projects are perfect for adding a personal touch to your home. At DbS Creative Studio, we believe in the power of creativity to transform spaces and uplift spirits. Whether you’re an experienced artist or a beginner, these step-by-step guides will help you create beautiful, meaningful pieces that resonate with your unique style and the values of our creative brand.
Happy crafting!
